Showing posts with label Close To My Heart. Show all posts

Wednesday, March 12, 2014

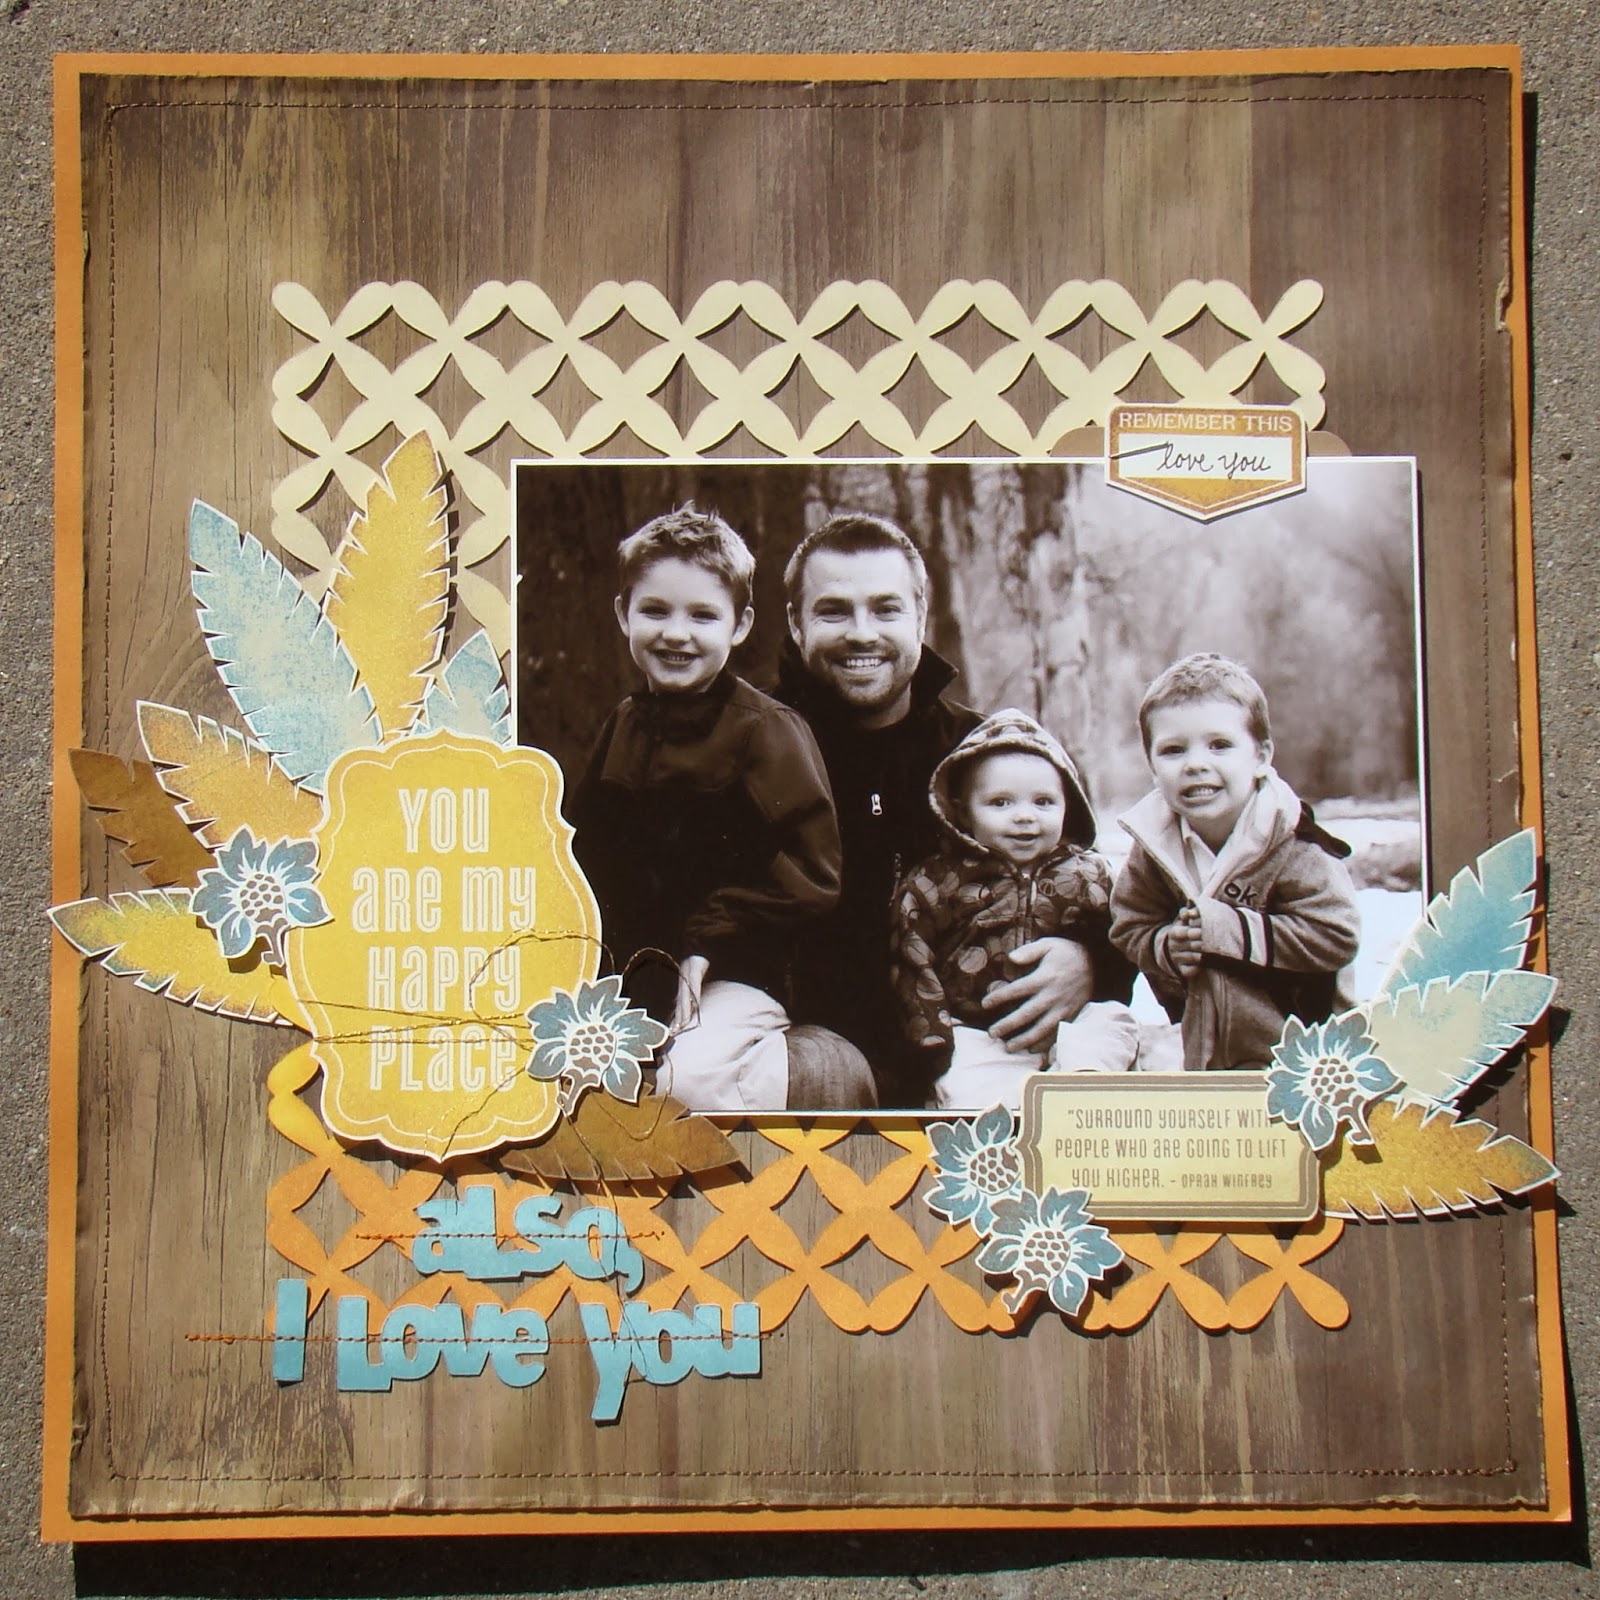
Masculine Page With Feathers

My son, Chris Huntsman with his dang cute boys! 
This page was so much fun to do since I tried so many fun techniques.
I water and ink washed the back ground wood paper, 
then stitched and distressed the edges,
used Cricut to cut a background overlay,
which I inked with pigment inks and dauber
to achieve an ombre effect.
The same inking technique was used to achieve the 
shaded hue on the 'also, I love you'.
And then more stitching right thru the middle of the phrase.
Rock-n-roll technique was used on the fussy cut flowers.
I used this same inking style on the feathers-
choosing both colonial white and kraft paper
added to the uniqueness of each feather.
Add a staple and tie on some bronze thread-
ta-DA! A page to show off four awesome guys!

Friday, November 2, 2012

Sisters

Two of my favorite people in this world are my two youngest daughters. Among their amazing qualities is the way they keep their relationship with each other strong and vibrant even while they now live miles apart. While they both resided in the same home it was common to capture perfect pictures of the two of them together on a daily basis. What you see in the photos above is the way they lived every moment. Having the two of them in the same house was heaven everyday. Every girl deserves to have a sister as dear and true as Andi has in Amanda, and Amanda has in Andi.

Before they came to earth,
Andi and Amanda 
chose each other as
SISTERS.


I made this wood shape flower using a bit of scrap paper
from the Close To My Heart paper kit and using the technique
 I show in the post which follows this one. 

I love adding tulle, and ribbon, and bling.
I had no specific plans for this copper ribbon when I
picked it up just the other day at the sale at Archiver's. 
I decided it was a perfect touch of flourish for this page.

What is your favorite flourish for your pages?
I would love to hear from you.

Create something beautiful everyday!!!
Karen

Thursday, November 1, 2012

How To Decorate Chip Board Shapes With Any Paper Pattern


Wood shapes and chip board come in a vast variety of adorable options.
The frustrating part is that they seldom come in the
color or pattern to match my current projects.
 

Using my Fiskar exacto-knife, Tombow multipurpose glue, a cutting mat,
and a bit of patterned paper I will show you how I turn
this wood shape into a beautiful embellishments to match my project.


Since I want to show the green side of this paper I will glue
my wood shape onto the reverse side of the paper.


I like the controlled tip applicator of the Tombow Multipurpose glue.


I place the glue side down and gently add pressure to insure a secure
and even bond of paper and wood. Using a stylus
I clean up any glue oozing from the sides before it dries.


Using my Fiskar exacto-knife I carefully cut the paper close to the edges of the wood shape.


When I have completely cut around the shape
it is ready to be inked, misted, glittered, or added to my project just as it is.
This same technique works great with chipboard shapes and alphabets.

I would love to hear what techniques you use on chipboard and wood shapes.

Happy crafting!
Karen

Wednesday, October 17, 2012

Jayden Mckenzie Scott


This is the way I like to play with paper. I like to start with a photo of a beautiful person. Then add inspiring patterned papers, a bit of old fashioned cutting with scissors, maybe some die-cutting and paper folding, some inking around the edges, sprinkle in some bling, utilize some brass and buttons, and then place a bit more bling somewhere. The results? Artistically B-E-A-U-T-I-F-U-L!


Cutting out the designs from the pretty printed papers is one of my favorite things to do. This time I was inspired by this pretty 'Pemberly' paper collection made by Close To My Heart. The brass letters are from Making Memories (product I had on hand), Sizzix has the perfect die to make the pretty rosettes. A couple of the flower centers were made with the handy dandy Epiphany Crafts charm setting tool. The beautiful girl is my adorable grand daughter, Jayden. As you can see, I have wonderful product and tools to work with. The most important being the picture of the beautiful girl.

Do Over!

During the task of organizing my craft space I came across a page I had started a couple of years ago, yet had never quite completed. I was so proud of myself when I took the time one evening to actually finish the lay out. All it took was a bit of journaling.

Yet I could not make myself add this page to an album. The happiness of finally completing the layout was outweighed by my displeasure of the results. I did not like what I had done.

I learned a long time ago to not be so critical of my own work. A lot of times the flaws seen by the creator are never noticed by anyone else. So I rarely re-do things I deem as 'finished'. After scowling every time I happened to look at this page I started the process of fixing it.


Of course the paper I had in my stash three years ago is not the same stuff I have now, so I couldn't just replace the strip of journaling that bothered me. I had to take the page to the store and search for replacement product. You know how that is . . . when you have a picture in your head of what you want the likelihood of you finding it diminishes immensely. Luckily for me, B-Jo at Achiver's had the same vision for my lay out as I did. With her help I came home with fresh paper and a vision of how to start playing with it. 

And I am happy to say that I am pleased with the re-do of the page I had started years ago. I can now call it finished and complete, and it will take it's well deserved place in a family album. 


I like the redo better. Don't you? I used patterned paper from Teresa Collins 'Christmas Cottage' and 'Vintage Finds' collection. A bit of a sheet from 'Ghost Gathering' from Little Yellow Bicycle's  Boo Ville line. The journaling spot was stamped using Close To My Heart 'Frame It Up Flair' acrylic stamp set and their newest ink in Slate. A smidgen of card stock by Bazzill in the color Thunder was used to hide a previous mistake. The tiny nickle colored circles are pre 2011 so forgive me when I do not recall where I acquired those. The best part of the layout (the photo and memories attached) are provided by my daughters, Andi and Amanda (in the middle) and their friends.