 Here is a picture tutorial on how I made a seat cushion for a five gallon storage bucket to be taken on Trek. Actually I have now sewn many cushions and yet have a few more to sew. I created this pattern and instructions so the Young Women in my ward could have a cushy seat for their Trek experience coming up soon. I had searched the Internet for ideas and patterns and I was not pleased with what appeared to be not-too-comfy seat cushions I found advertised for sale or the 'stuff and glue' MIY versions I found.
 I happen to have bolts of Cordura stored in my craft room so I donated the fabric for this project. I did purchase 3" foam (from JoAnne's Fabric store) and cut 12" foam circles for the cushion insert. The cordura comes in 54"-60" width. I cut two 3.5" strips for each seat cover. I also cut two 13" circles from the same fabric.

 To begin sew rights sides together of one circle and one strip.
I folded the beginning edge to create a finished seam. The end will overlap by at least an inch so it will be a finished seam w/o stitching.


 This is the tricky part. I sewed three pieces at once to save time. The second circle piece is sewn to the first strip WRONG sides together. On the other side of the fist strip you attach the 2nd strip with right sides together.


I only needed to utilize pins just to get it started smoothly.

After the stitching is started I was able to sew all three layers at once by guiding the fabric as it came to the pressure foot.

Leave a 4-5 inch opening .

Stuff the foam circle into the hole.


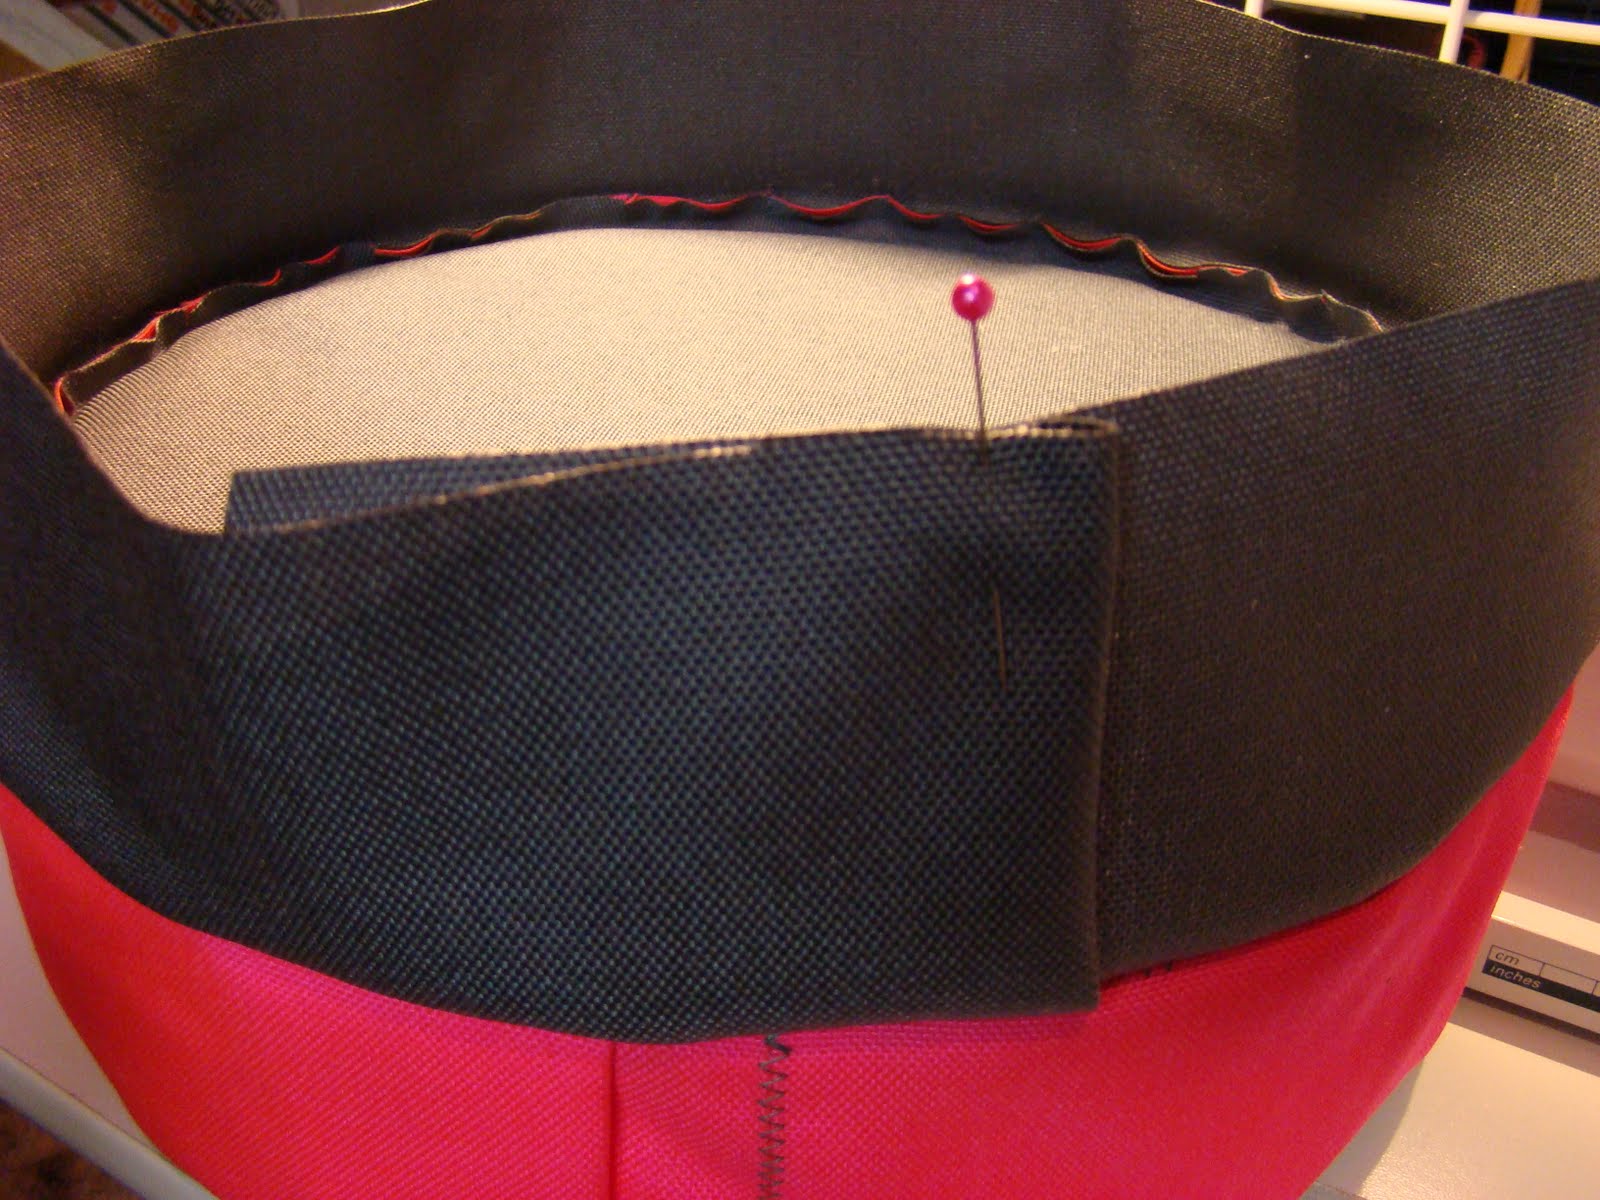
Pin just the 1st strip with the second circle.
Zig-zag closed.
This is the tough part- holding the project close enough to get under the pressure foot.


Finish pinning the 2nd strip to the nearly finished cushion.
 Clip off any extra length from the 2nd strip. This is where the end overlaps the beginning.
Straight stitch the three levels of fabric together.
 Pin the beginning to the ending. I tacked these together with a zig-zag.
 Zig-zag 1/4 " elastic to the inside edge of 2nd strip. Pulling elastic as you go. I held the cushion with one hand and pulled elastic with the other as my foot controlled the speed.
 Ta-Da!
 Here's how it looks finished.
 And on the bucket. This one is for Nicole M.

